What should I use as RINK BOARDS for my Backyard Skating Rink??
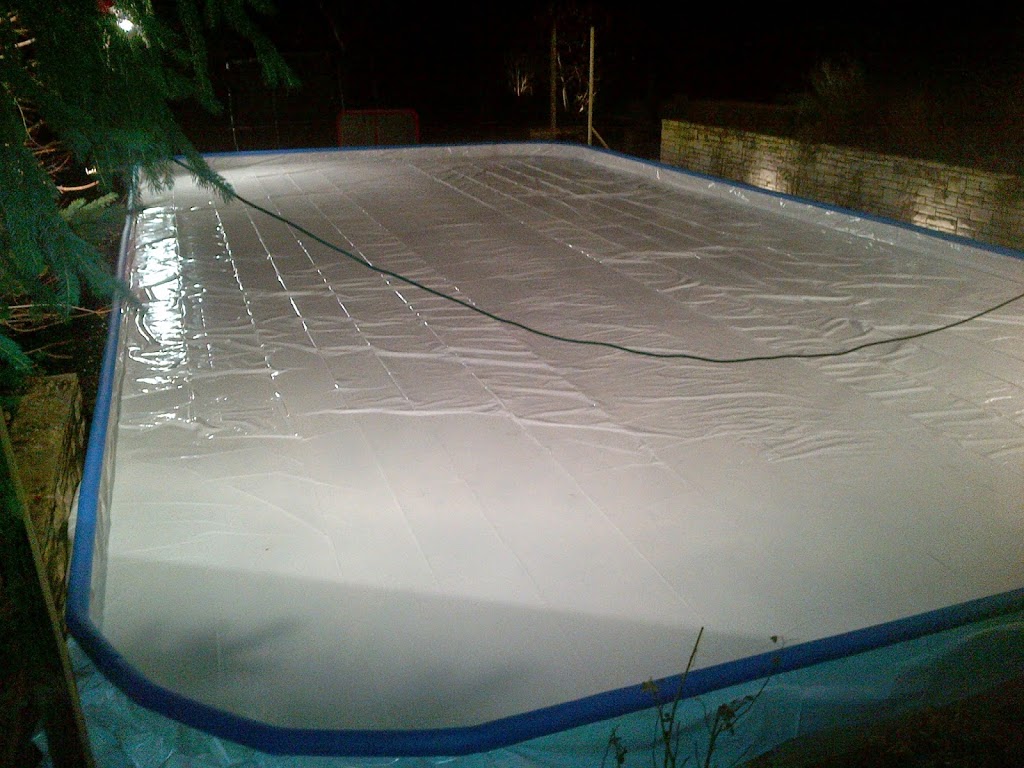
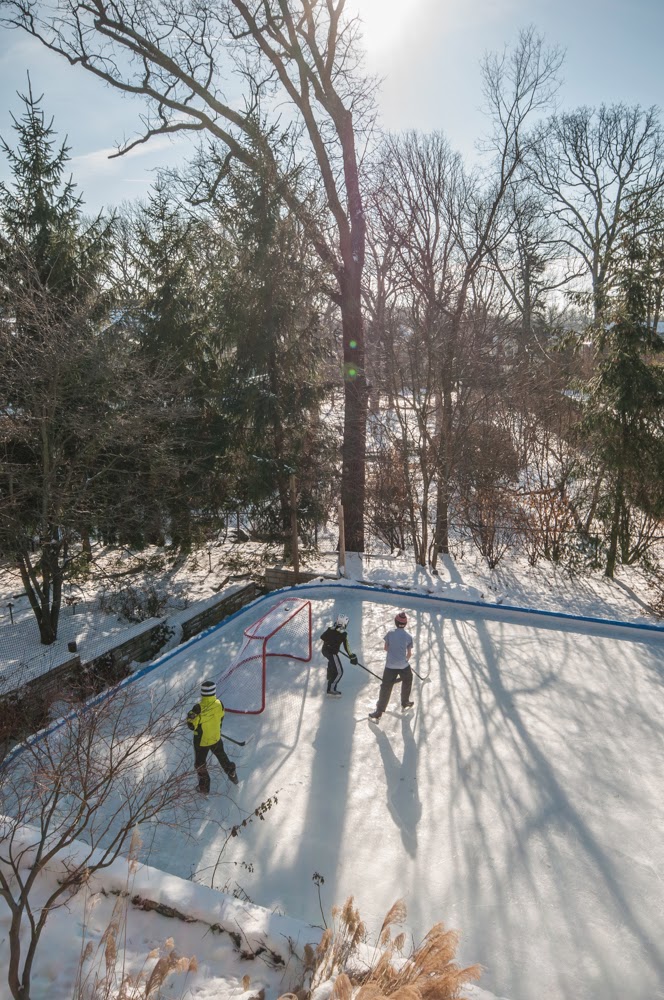
The beauty of smooth shiny ice under the clear evening moonlight and the crisp sound of skates cutting ice with the playful laughter of children and the aroma of fresh burning logs in the background air are definitely impressions that stick when we think of our backyard rinks…truly EPIC!!

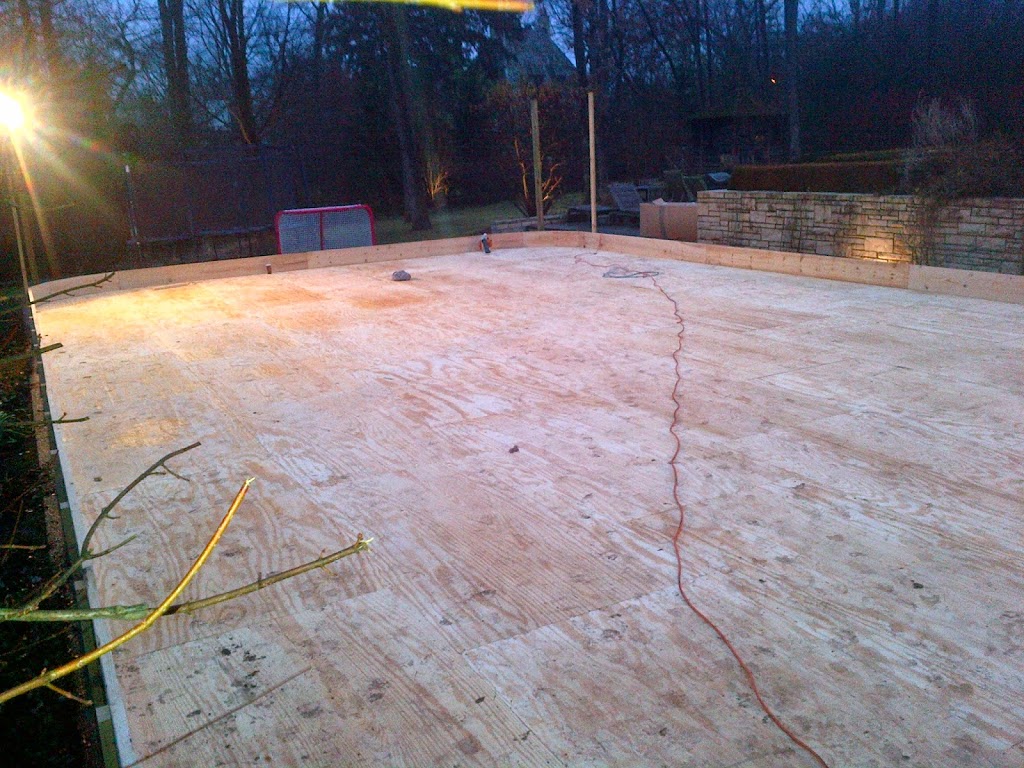
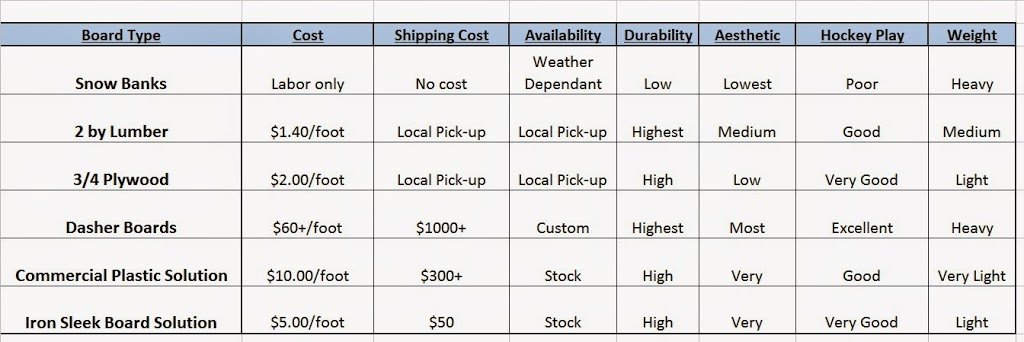
All this is possible because a containment holds water in place allowing it to transform to the expanding miraculous ice when the ambient sinks below 32 degrees. The containment has a great function but it also adds character and personality to an outdoor rink. There are many materials that are commonly used to contain water to form an outdoor rink. Some options for rink boards are: dashers boards, 2” by lumber, plywood, commercial plastic, and snow banks. These are all good options but it is up to the rink designer to choose between cost, effort, aesthetics, and their overall vision for the rink. The chart and dialog below is a good starting point to understand some of the differences between the various options.
Let’s start with the most deluxe…Dasher Boards.
Real hockey dashers are rigid metal frames, 48” tall, with ½” poly permanently attached to the frames that can sustain rough hockey play. Dasher boards are usually permanently mounted, heavy, and require construction professionals for installation. They are usually well decorated with a base trim and a colored top ledge. There are companies in Canada and the US who have mastered this mainly commercial market. Heavy duty, metal framed dashers with ½” poly boards cost over $100.00 per linear foot. There are custom wood frame options starting at $60 per linear foot or aluminum frame options that start at $30 per linear foot. Iron Sleek does not provide dashers but we would be happy to discuss other cost effective board solutions for you that could make your rink board look and play like dashers.
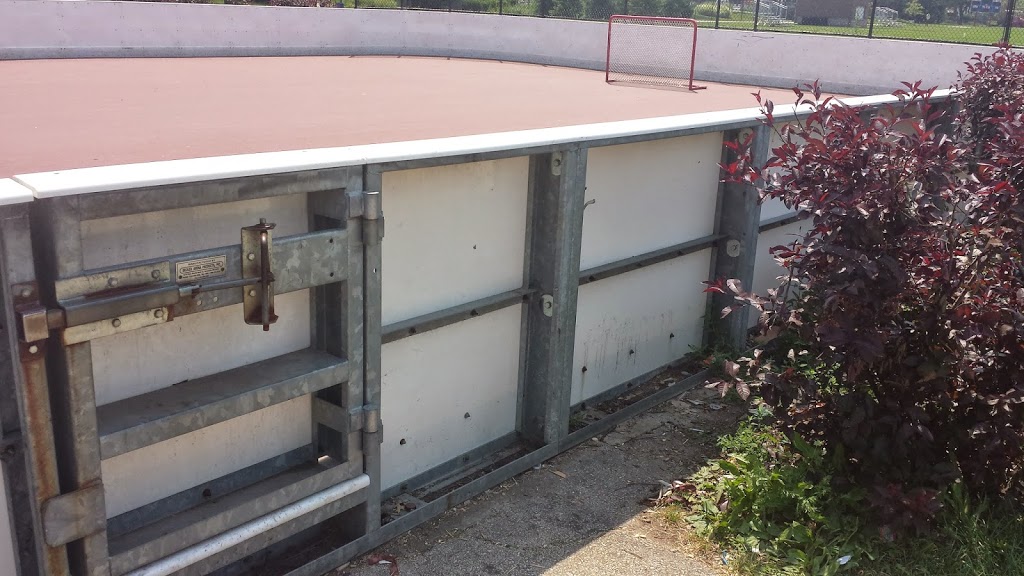 |
| Steel Framed dashers with 1/2″ Poly |
“2 by” lumber
“2 by” lumber is a great choice for building a skating rink. 2 by 12’s or 2 by 10’s are readily available in both Canada and the USA. In Canada, 2 by 10’s are best the value. Contrarily, in the US, 2 by 12’s are more favorably priced. There are many benefits for using 2 by 12 lumber for rink boards. 2 by 12’s come in a wide range of lengths so our customers can build a rink without a single cut. Also, 2 by lumber comes in very long lengths. Our local lumberyard even has 20 footers. With 20 foot boards, Iron Sleek’s 20 by 20 rink kit could be built with just 4 boards…No Seams! Just as an FYI, most of our customers who use 2 by 12’s buy them in 10 foot length as they fit just perfectly in a minivan. Some other benefits are that 2 by lumber is durable, easily stacked to build a 2nd story with the Iron Sleek extension bracket, and is the most cost effective solution for building a basic rink enclosure. 2 by lumber is also a tough construction material as it is strong enough so fewer Iron Sleek brackets could be spanned across the boards. Another benefit of “2 by” lumber is that it is milled with a radius edge which helps prevent liner cuts where plywood has a sharper splintery edges. Some short comings on using lumber for an outdoor rink is that that lumber is heavy and sometimes boards can warp if not stored properly. Iron Sleek base cove works out great for to fill the gaps on warped boards. Some other challenges with 2 by lumber is that the boards are heavy, they can split along the grains, and they can warp with time. All in all, for about $1.25-1.50 per foot investment, 2 by lumber is a great inexpensive solution for building a skating rink. Some tips on using lumber:
· Try telling your lumberyard that you are building a backyard rink and that you would be willing to take boards with knots for a discount. You may be pleasantly surprised. When I built my first rink, I got 50% off for taking “inferior boards.” The store clerk will be impressed that you are doing something so awesome and a few knots in a board will not affect the quality of your rink. I still use those same boards today that I bought a decade ago.
· Be careful to not miscalculate lumber sizes. “2 by” lumber is just a nominal size. The actual thickness of the lumber is only 1 ½”. The same is true for the height. For example, a 2” by 12” is acutally 1 ½” by 11”.
· Treated lumber is not necessary unless you plan on leaving your rink set up out in the elements year round. Treated lumber costs more and is much heavier. Since the liner will protect the boards during the rink season, treated lumber is not required.
· “2 by” lumber is a great choice for building a free skating rink on a low pitched site. The rink will go up easily and it is easier to maintain as snow could simply be pushed off the sides.
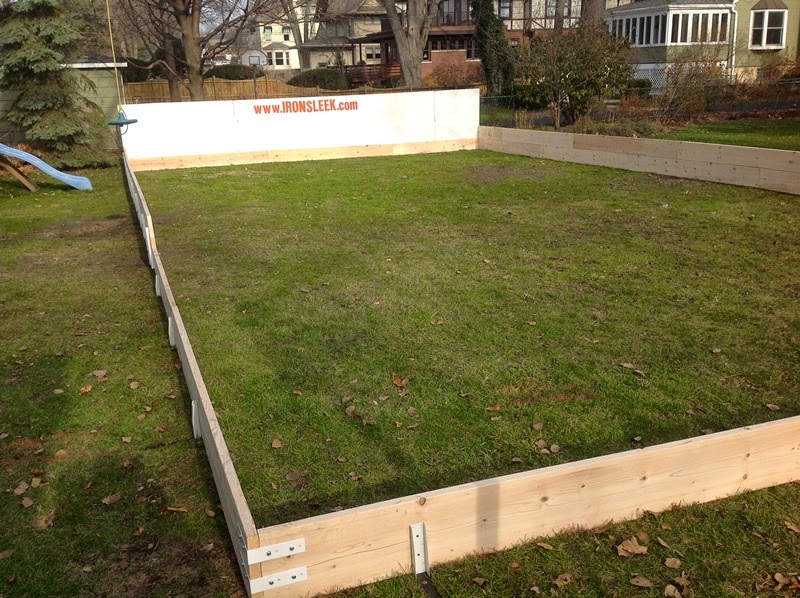
Check out just how nice a 2″ by 12 rink frame can look below:
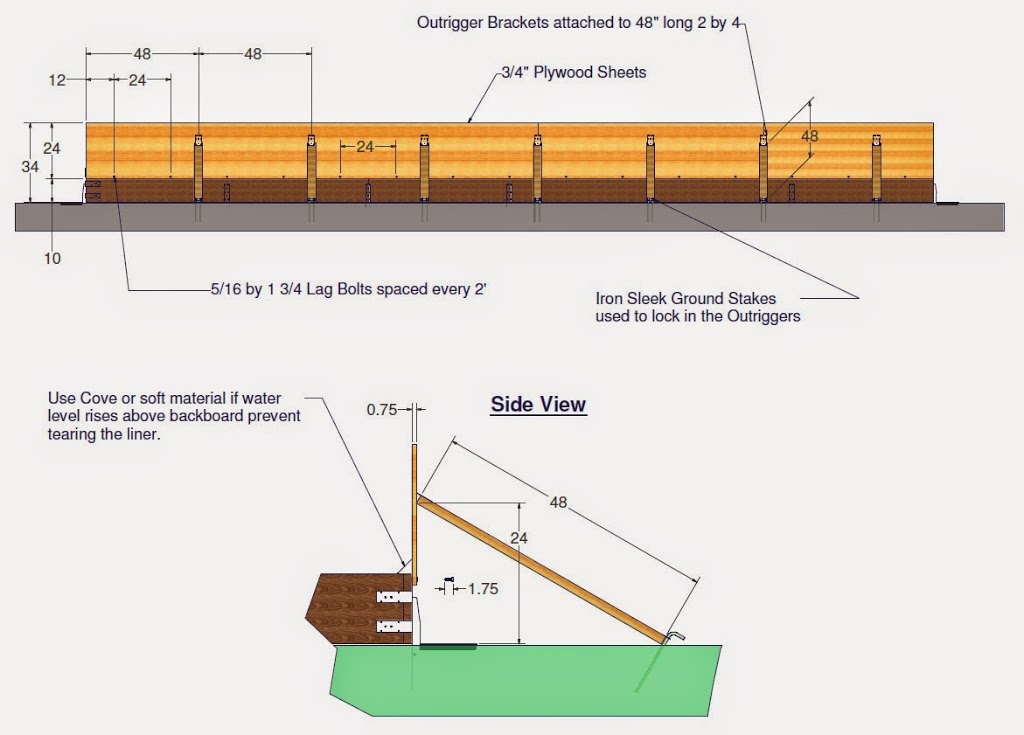
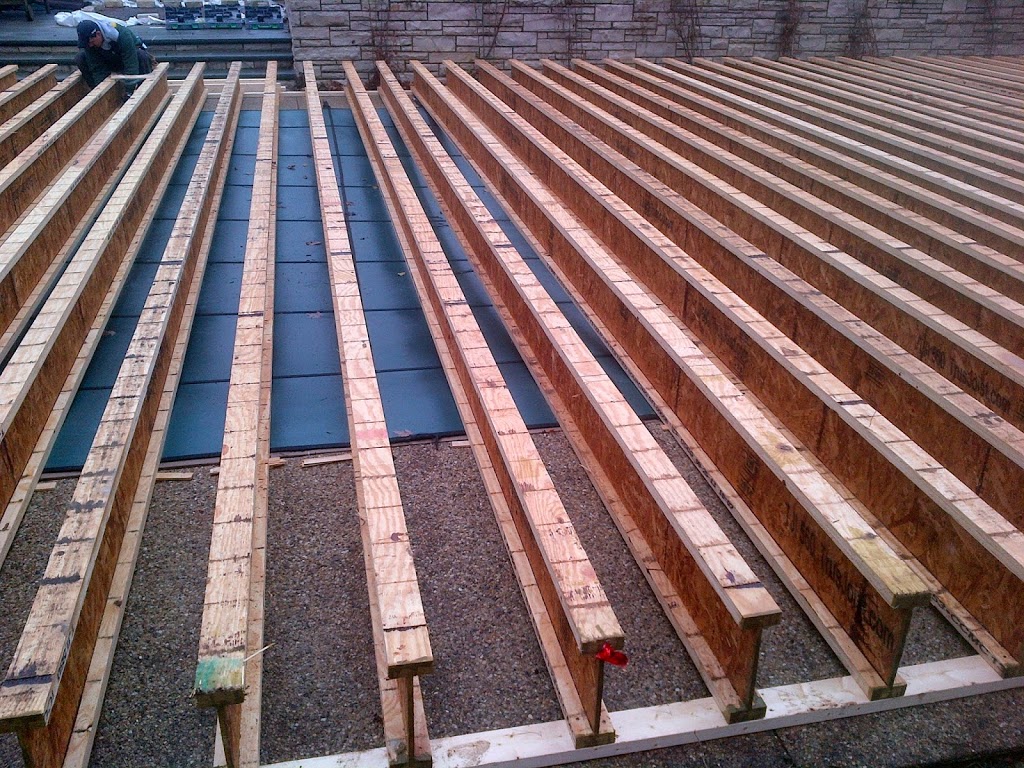
¾” Plywood for Rink Boards
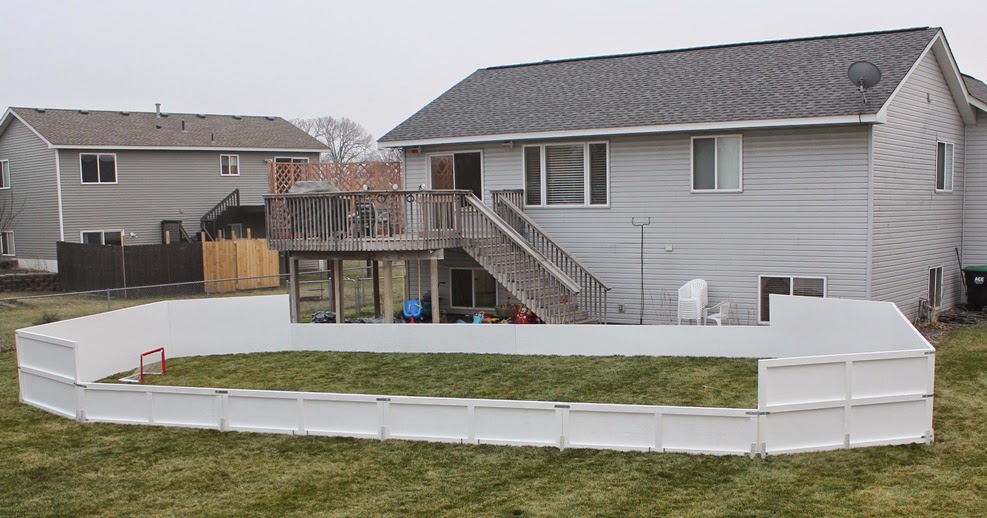
¾ plywood is also widely used as rink boards. Did you know that in the old days plywood was used to build above ground pools? Plywood is tough, durable, and readily available. Plywood could be picked up almost at home improvement store. Iron Sleek board wrap could help transform a plywood rink to a dasher aesthetic rink. See below:
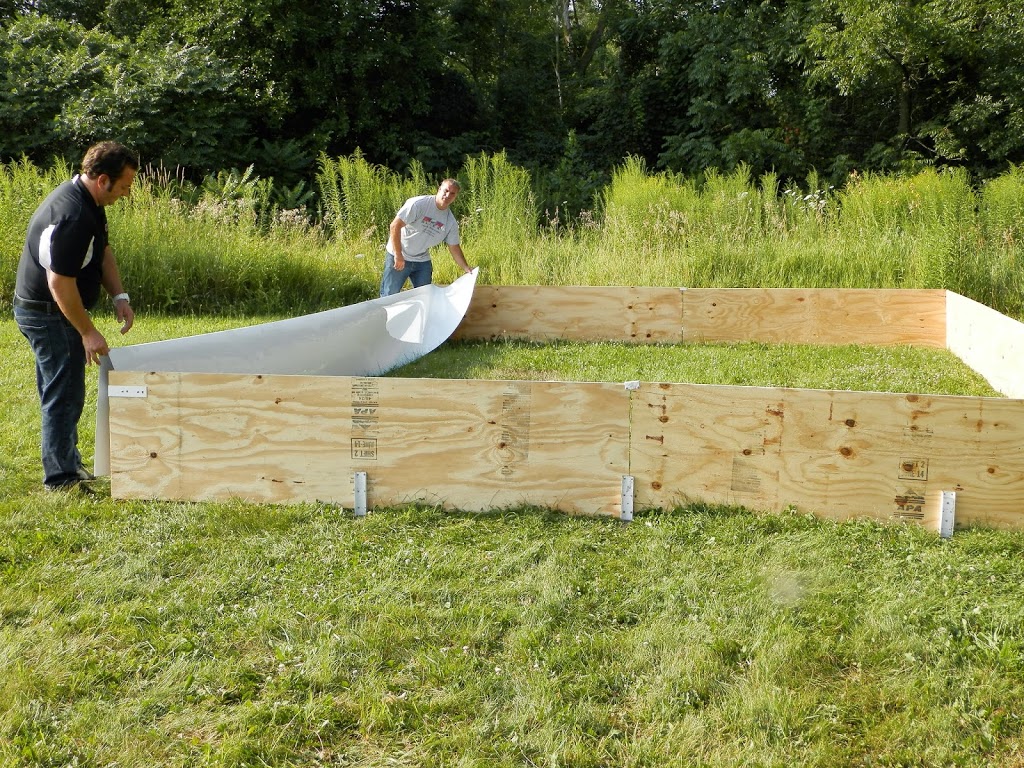 |
| STEP 2 |
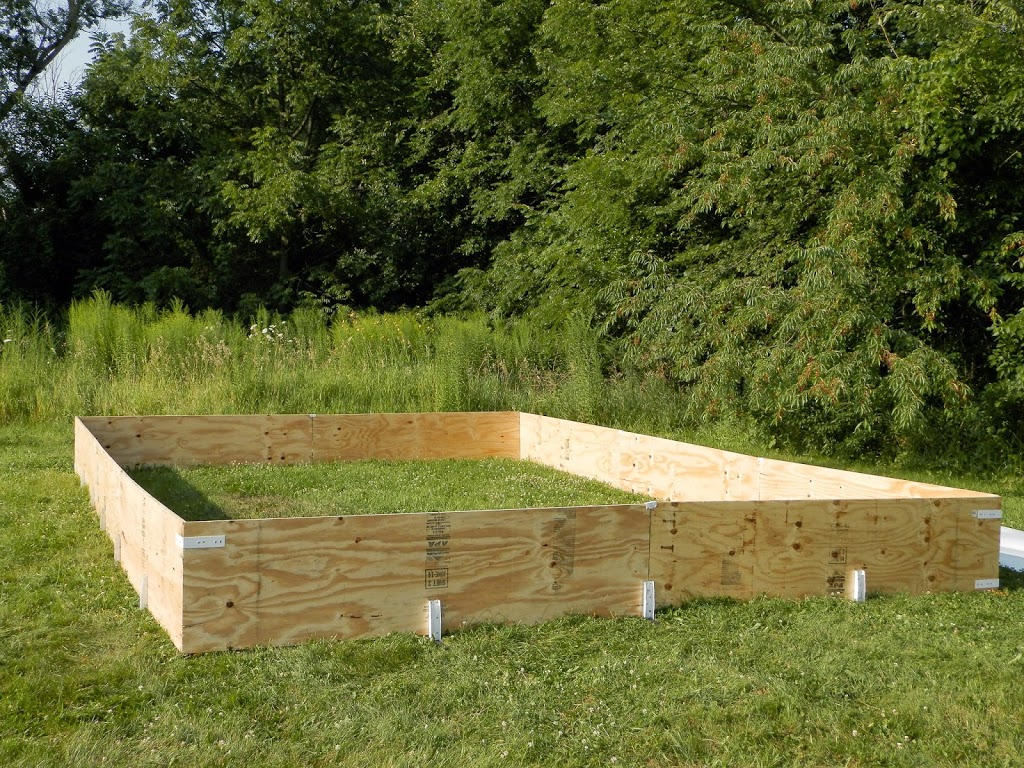 |
| STEP 1 |
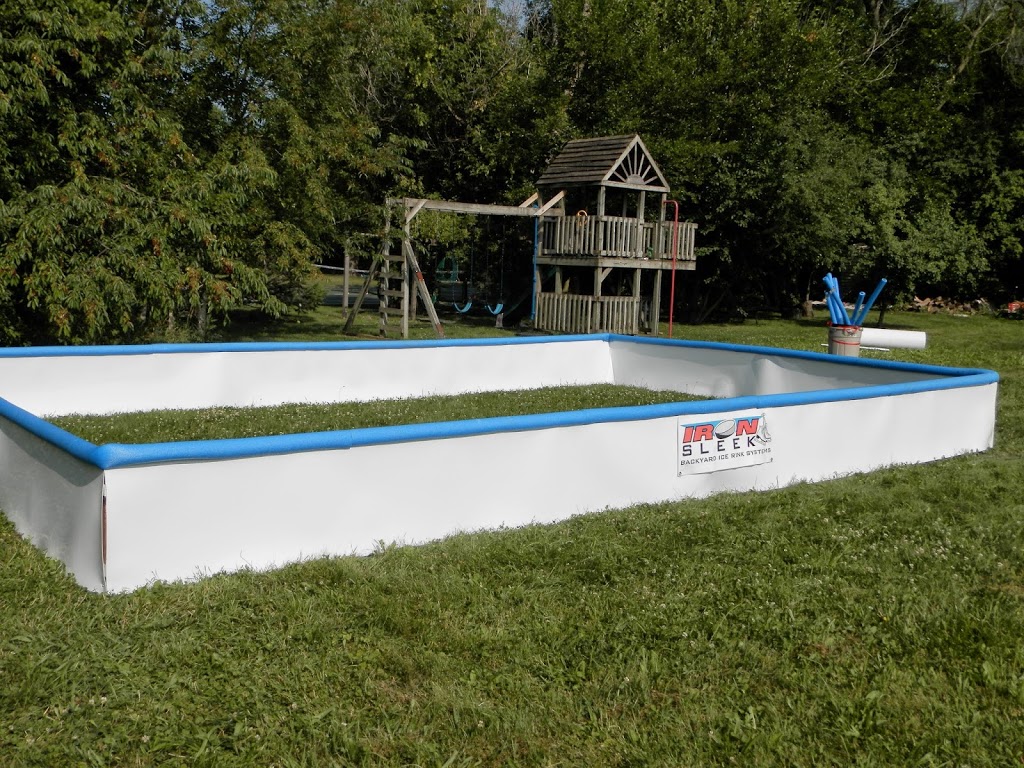 |
| STEP 3–PLYWOOD TRANSFORMED |
Plywood has several benefits for building a backyard rink. Some of these are listed below:
· Plywood boards can be ripped to accommodate water levels where 2 by lumber must be stacked.
· Plywood can be framed and painted to look and feel like real dashers.
· Plywood boards store easier since they are actually half the thickness of 2 by lumber.
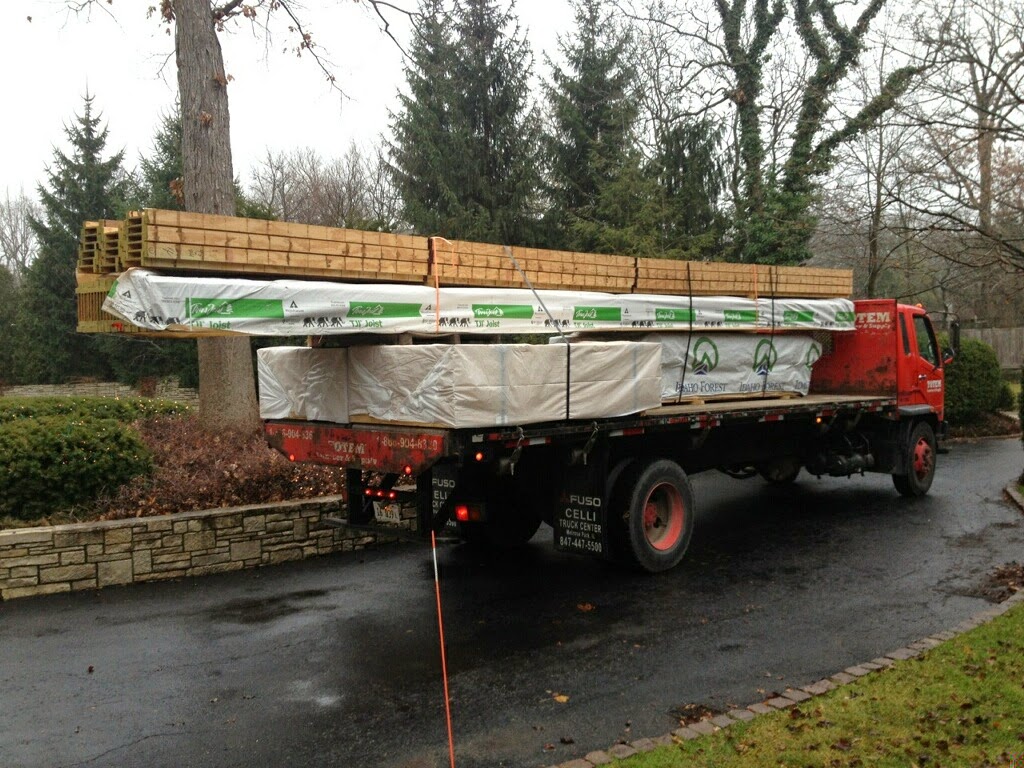
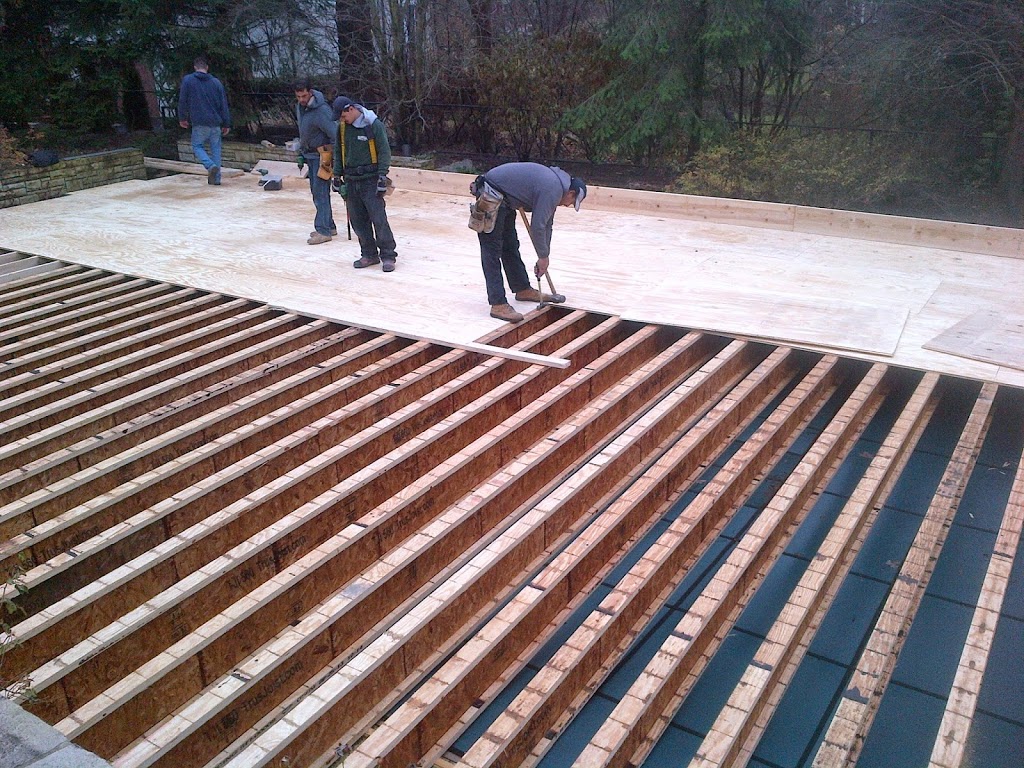
· Plywood is the choice of simplicity for commercial installers as they can stack and transport more boards to the job site.
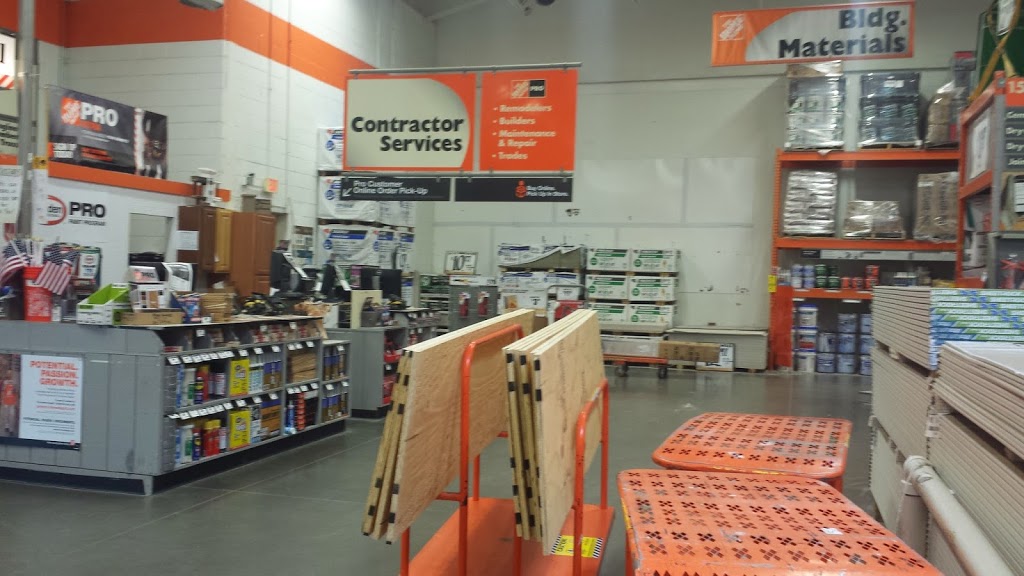 |
| Materials store can cut the lumber |
Some of the challenges with plywood are:
· Plywood sheets must be ripped. I recommend asking your lumber provider to rip the plywood or you will be stuck with a time consuming tedious job of sawing. Sometime lumber yards rip plywood at no cost. In Chicago, Home Depot will rip up to 10 boards at no cost.
· You will need base cove to protect the liner because the edges are sharp and could cut the liner from below. Cove is critical with plywood especially when water levels exceed 11 inches.
· Plywood flexes so the board will not appear straight even though they are installed straight. The water pressure and ice expansion will show board flex throughout your rink season.
· Screws do not bite in as well in plywood as they do with 2 by lumber. You must be especially careful to not strip out your screws when using a power drill.
· Plywood does not last as long as lumber if not stored or protected properly outdoors.
Snow banks as a rink boarder
I built my first rink 20 years ago with snow banks. 20 years ago, I quickly learned that snow banks are not a reliable way to contain an ice rink using the liner method. The main reason is that the snow will melt on a mild day and your rink will soon wash away. Also, when you are filling your rink, the snow bank will start to melt from the warmer water. Yes, snow is free, but if you are serious about having a backyard family rink, choose a construction material as a rink board. Snow banks are exhausting to maintain; however, they are still commonly used on ponds as it is difficult to bring construction materials to the edge of a lake. Iron Sleek has simplified building a rink on a pond and has provide an alternative to snow banks with the Iron Sleek Pond Bracket. See video below: