Everyone’s rink setting, configuration and climate is unique. Please consider the points below as general guidelines for tearing down your rink.
1) The Meltdown.
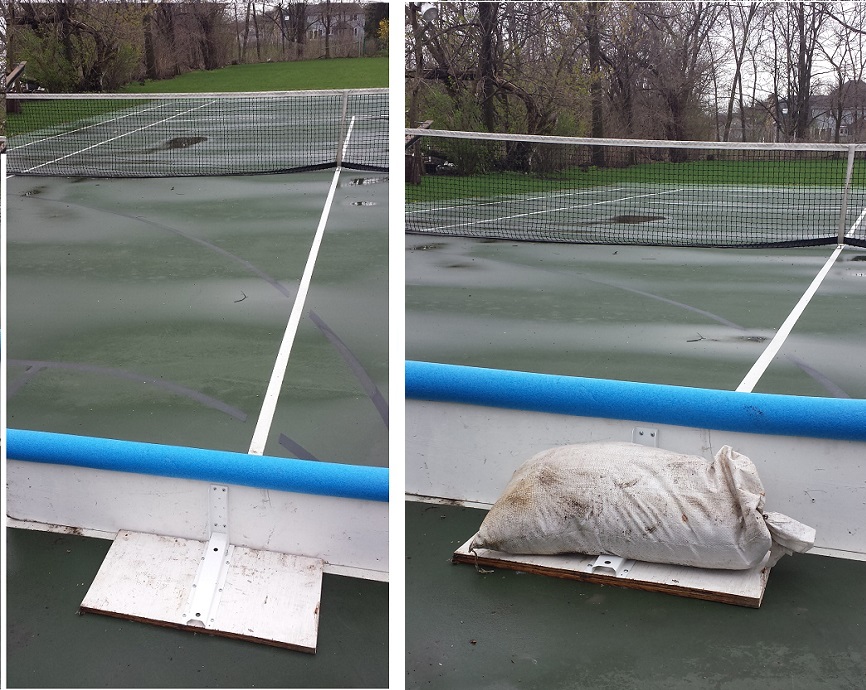
I usually leave my rink alone and let nature take its course; however, if you want to speed things up, here are a few things to keep in mind.
a) DO NOT DRAIN YOUR WATER.
There are 2 reasons to hold off on draining your water. First, exposed water on a rink picks up kinetic energy from the wind to instigate the melt down. This makes a huge difference. Moving water melts ice so puddles on top of your ice will help to melt it, even at night. Keep the water in the rink. Second, the water temperature will rise faster than the ice temperature. Ice gets stuck at 32°F until it gains enough heat to convert to water.
b) DARK COLORS.
This is the only time your white Iron Sleek liner is going to work against you. Since you have already had a season as manager of your rink, you know quite well that a leaf burns its way to the bottom of a rink. Consider placing a dark colored tarp on ice sections to gain solar energy.
2) Water Removal.
The key here is to get the water away from the rink and not to flood you or your neighbor’s home. Water under the liner for an extended period of time can trick the grass into becoming active. A liner covering active grass can suffocate the lawn. Here are a few pointers to not kill your grass and to not flood anyone’s home.
a) PUMP IT OUT.
The best way to remove water is with an electric or gas pump that has a discharge hose. Your local home improvement store usually rents them out. As a reference point, a 30 GPM pump will empty a 20×46 rink in 2-3 hours. With a pump arrangement, you have full freedom to direct the water to areas that are suited for drainage…like the city sewer. If you cannot reach the city sewer, you will need to direct the water toward a safe and convenient draining area.
b) SIPHONING.
Siphoning is slow but it works well. With siphoning, you will have some flexibility on directing the drainage. My warnings are that it will take several hoses to get a decent flow and that starting the suction takes some strong lungs. A benefit of siphoning is that the low flow rate gives the ground a better chance to absorb the water.
c) OPEN THE RINK.
At the high water corner you can open your rink to let all of the water flow out. This is the fastest way to drain your rink. I have done it this way for years, but I did notice that is has some negative effects. Over flooding the grass can damage the grass roots. Also, repeated flooding can lower your ground’s grade.
d) OTHER POINTS.
– Do not open the rink on the low water corner. Water will eventually flow under the liner.
– Do not puncture holes in your liner. We have seen customers do this just to find out that they flood their grass root and had some dead spots on their grass.
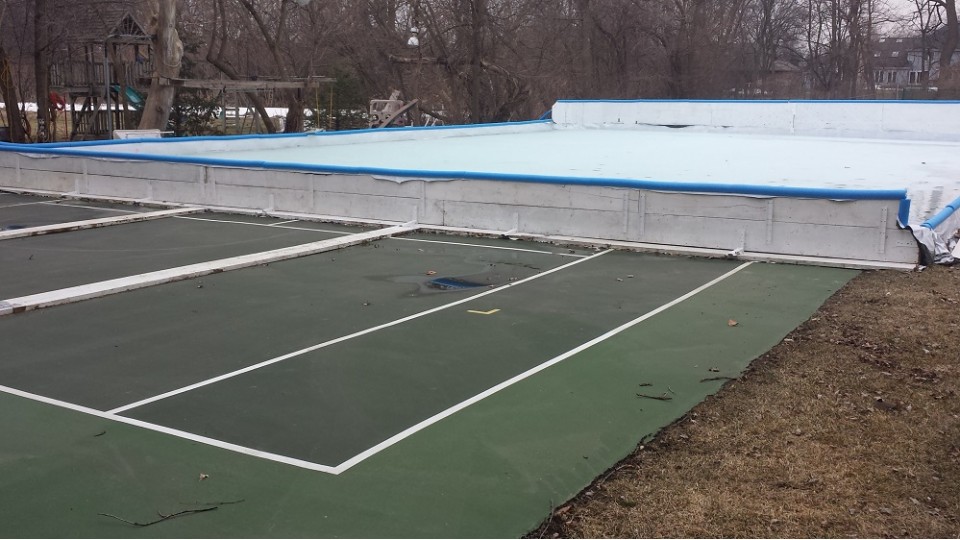
3) Remove Ice Chunks.
Even after having pumped out your water, you may still have some ice chunks on your liner. We recommend removing one section of boards to slide the remaining ice out. See below on how to remove boards and brackets. Do not attempt chipping out a full sheet of ice. That is a job for a Bobcat. To put this in perspective, a 20×46 rink could have 35,000 lbs. of ice in it!
4) Liner Removal and Disposal.
Getting the liner up is critical because you do not want to suffocate active grass!
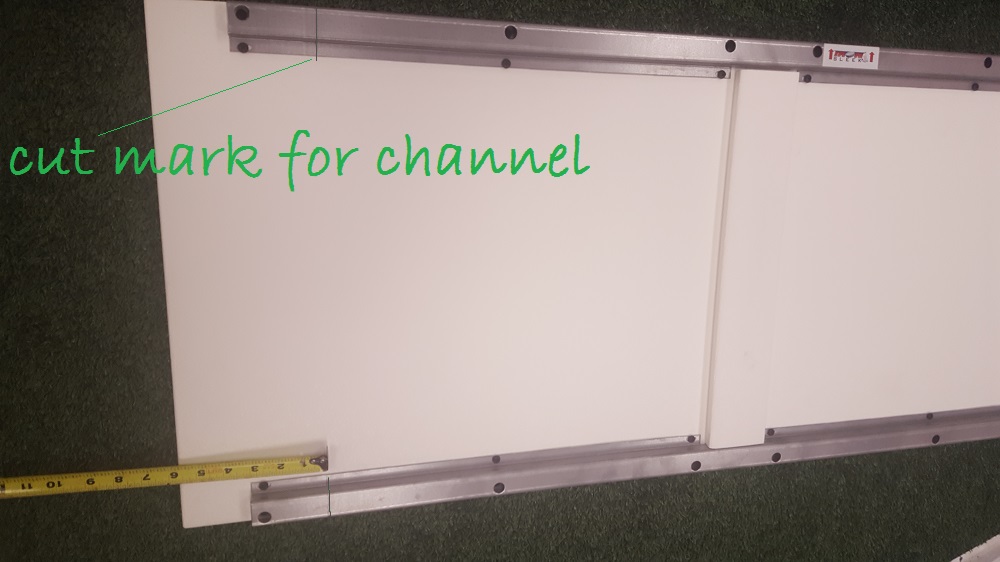
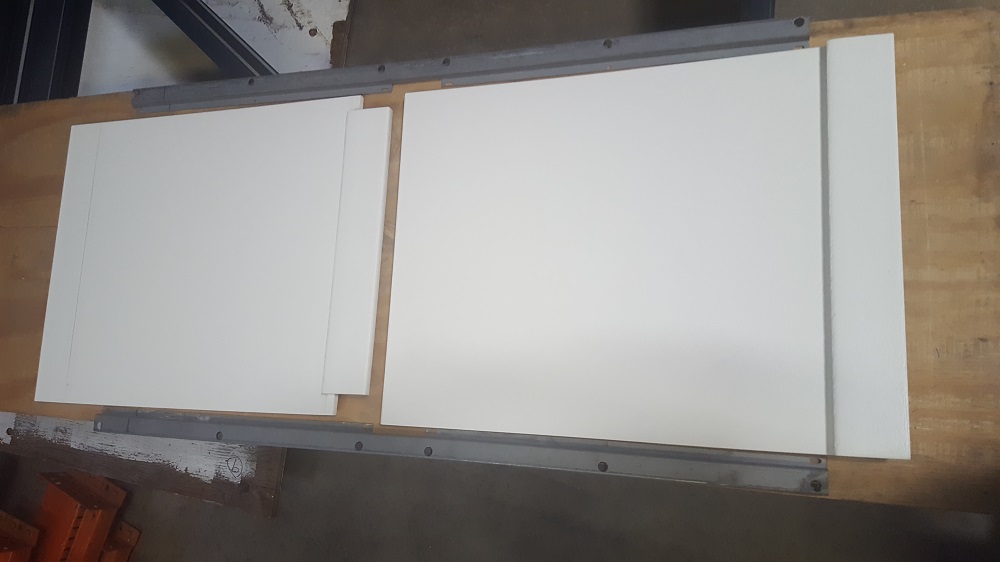
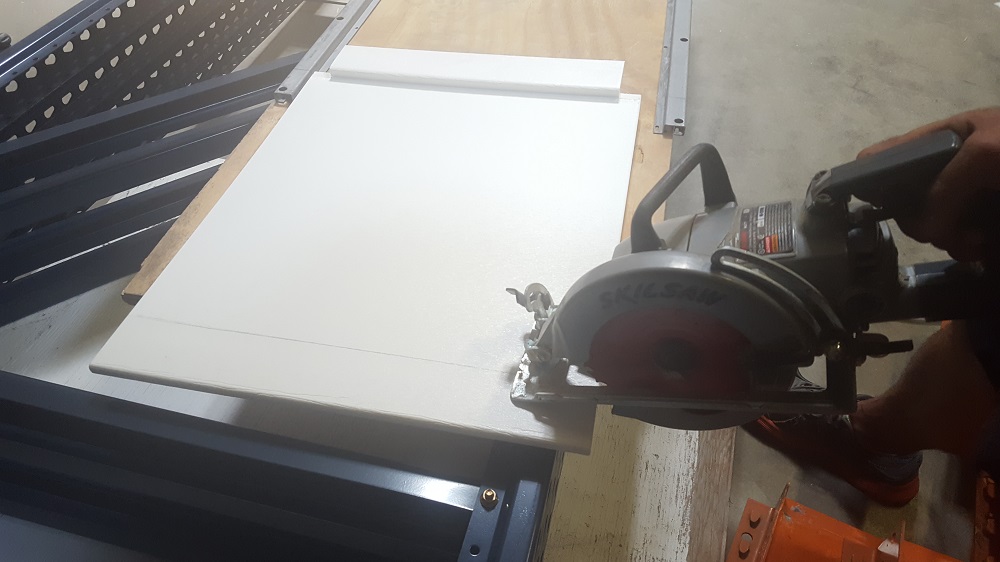
a) CUT A LUMBER COVER.
If you need a piece of liner to cover your lumber, now is the time to cut that piece out.
Cut the liner into manageable strips. If you do not approach this properly, it can cause a lot of unnecessary headaches. Keep it manageable for you and for your recycling service team. You will not regret this step. If the liner is too difficult to dispose of, recycling will leave it behind and it will be your problem. Roll up the strips and bring to your blue recycling bin. Iron Sleek liners are 100% recyclable.
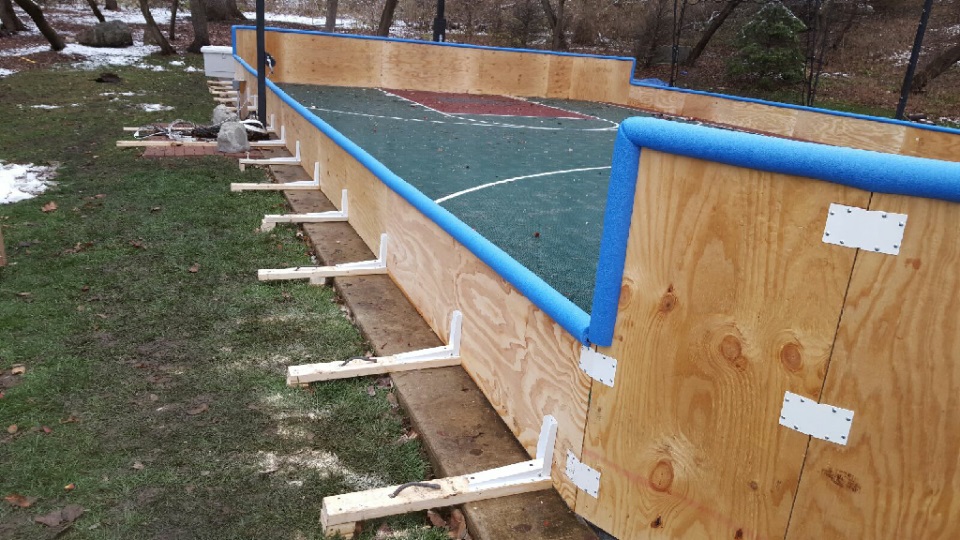
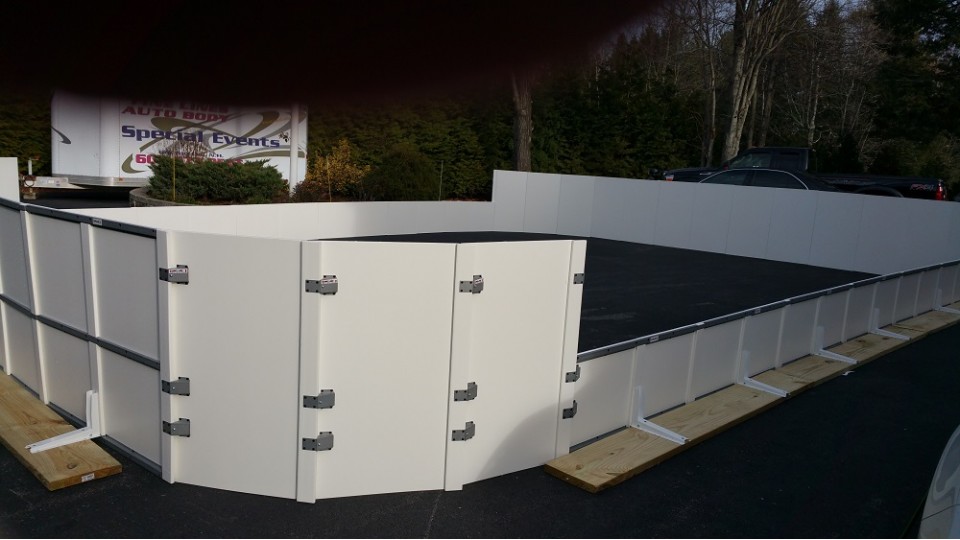
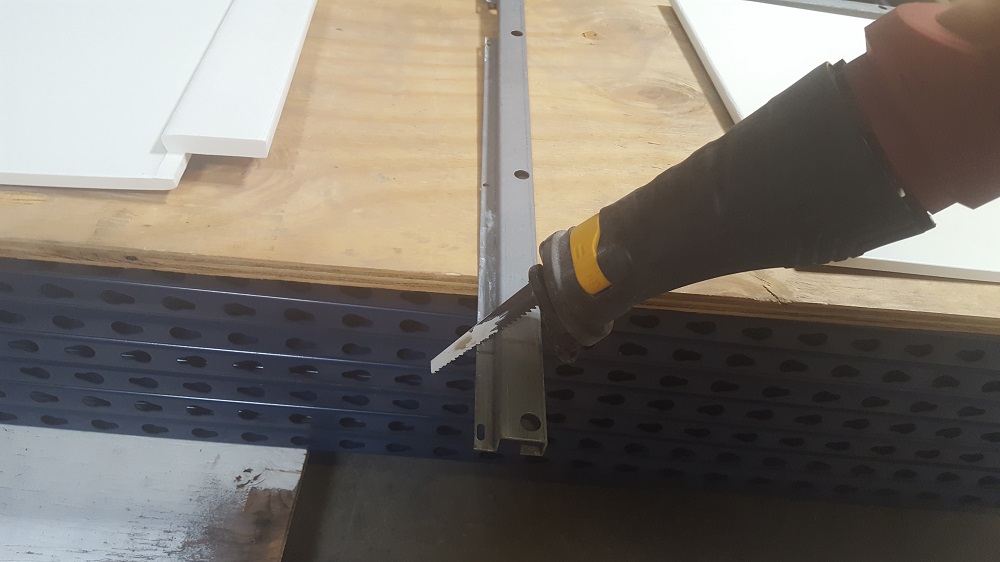
5) Remove your Containment Boards.
a) Unscrew the Iron Sleek brackets from the boards. Leave the brackets in place and unscrew the boards from the Iron Sleek brackets. DO NOT PULL UP THE BOARDS WITH YOUR BRACKET ATTACHED.
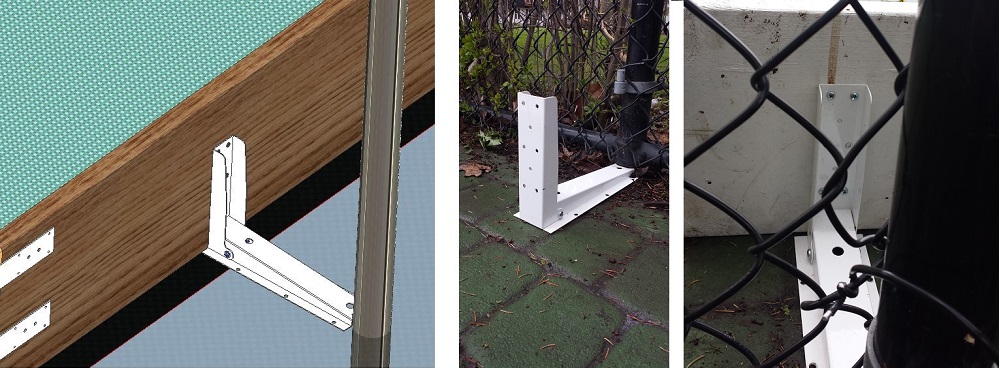
6) Remove your Iron Sleek Brackets.
Note: Do not use any leverage tools for this (no sledge hammers, no crowbars)
a) To remove an Iron Sleek bracket, tip the bracket forward and backward a just a bit to loosen the dirt. (NOT SIDE TO SIDE)
b) After the dirt is loosened, pull the bracket STRAIGHT UP out of the ground.
c) Remove dirt from the bracket and fill divots in the grass.
7) Storage.
a) The best place to store your boards is in a temperature and humidity controlled environment. A garage, basement, or shed typically work well. If you must store your boards outside, make sure you put them in a place that is relatively flat and dry. I store my boards outside under a liner, near my rink site to reduce lifting. I occasionally have a board rot out, but it is rare.
b) You can gather your brackets and put them on a shelf in your shed or cover them outside. They are steel so their properties will not degrade but to prevent rusting, covering them is a good idea. If you have rink topper, keep it out of the sun.